
How to create a font from your handwriting
Turn your handwriting into a working font: write a controlled specimen on paper, trace each character in Draw mode, and export an installable TTF.
You can turn your handwriting into a working font in Font Studio by tracing it: write an alphabet on paper, then draw each character in the Glyph Designer's Draw mode — strokes become outlines, and the finished set exports as an installable TTF.
There's no automatic scan-to-font in the app. The tracing loop below is the honest path — and, with stroke stabilization cleaning up the wobble, quite a fast one. A stylus on a tablet is the comfortable way to do a whole alphabet.
What you'll learn
- How to prepare a handwriting specimen worth tracing
- How to trace it efficiently in Draw mode
- How to finish, space and install the font
Step 1 — Write a controlled specimen
On paper or a whiteboard, write the character set you want — every letter in both cases, plus the digits and punctuation you care about. Keep it consistent:
- Same pen weight throughout — the font's stroke thickness comes from you
- Sit on the baseline, with a consistent x-height and cap height — your eye will hold the font together better than any tool could
- Include the awkward ones twice ("a", "g", "e") if your handwriting varies — pick one form and stick to it
Step 2 — Set up the project
Start the Start New Font wizard with segments matching your specimen. The wizard gives you one card per character; each card's Design button opens an empty glyph ready to trace. The default metrics (1000 units per em, standard heights) are fine — your drawn letters will define the look.
Step 3 — Trace in Draw mode
For each character, open the card and trace your own letter with finger or stylus:
- Switch to Draw mode and set a brush width that matches your pen weight
- Draw the stroke in one confident pass — stroke stabilization cleans up the wobble, and Smooth last stroke tames any survivor
- Check it against the guides — baseline, x-height, cap height — before moving on
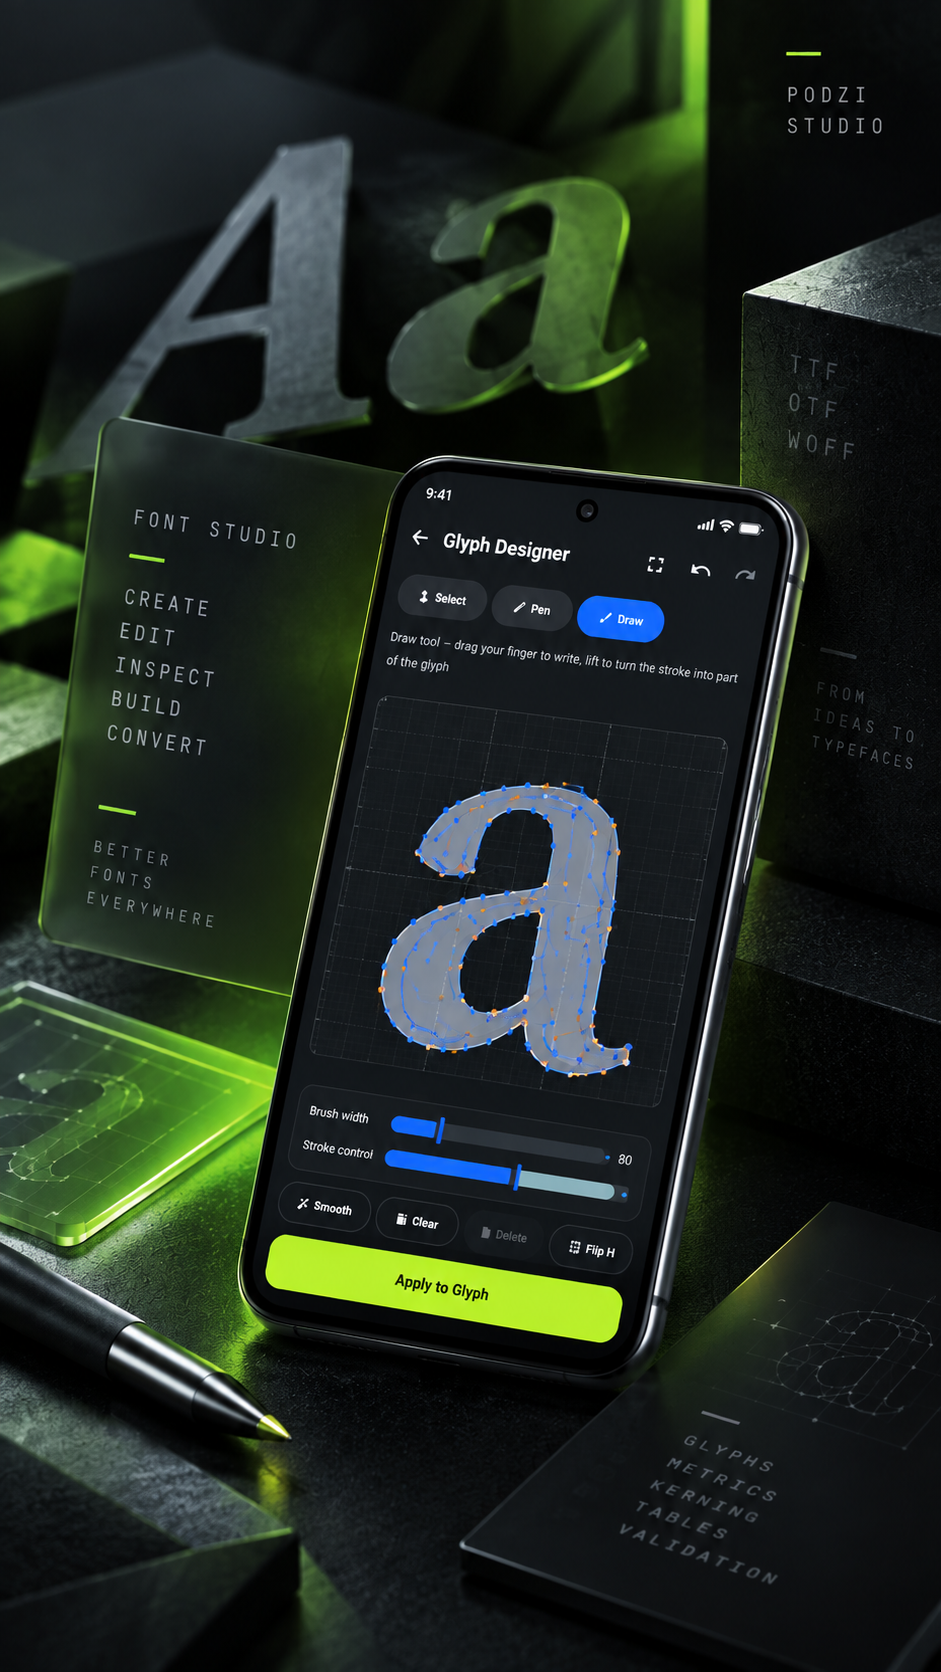
Draw-then-refine is a productive combination: sketch the shape in Draw mode, then tighten its points in Pen mode. The full technique lives in Designing a glyph from scratch; the stylus workflow is covered in Drawing with Apple Pencil.
Step 4 — Finish and install
Complete the cards and let the wizard assemble the font, then:
- Run Font Health before shipping it anywhere
- Adjust spacing if letters crowd each other — handwriting often needs generous bearings to read well as a font. The three numbers that matter are explained in Spacing, bearings & advance width
- Export the TTF and install it — Installing fonts on Android covers the device side
What to try next
- The same loop without the paper reference: How to create a font on Android
- Fixing a single character in an existing font instead: How to edit a TTF font
Full documentation