
How to repair a corrupted font
A font that won't install or renders wrong is usually structurally damaged. Diagnose it with a health scan, preview the repairs, and fix it — on device.
A font that won't install, crashes a text stack, or renders boxes is usually structurally damaged — not badly designed. You can diagnose it, preview the repairs, and fix it in Font Studio's Validate & Repair center, entirely on your device.
Downloads from font aggregators are the usual source: interrupted exports leave half-written tables, manual hex edits break offsets and checksums, and lossy round-trips through unrelated tools silently mangle data. The good news: most of this damage is mechanical, and mechanical damage is often fixable.
Warning Never run repairs on your only copy of a file. Validation is read-only, but repairs rewrite font data — keep the original until the repaired version has proven itself.
Match the symptom to the fault
| Symptom | Likely fault | | --- | --- | | Font won't install | Missing tables, bad checksums | | Every character renders as a box | Unusable character map | | Text stack crashes on use | Out-of-range glyph references, broken offsets | | Line spacing differs between apps | Vertical metrics disagree | | Garbled or clipped glyphs | Degenerate contours, duplicate points |
Step 1 — Run the full scan
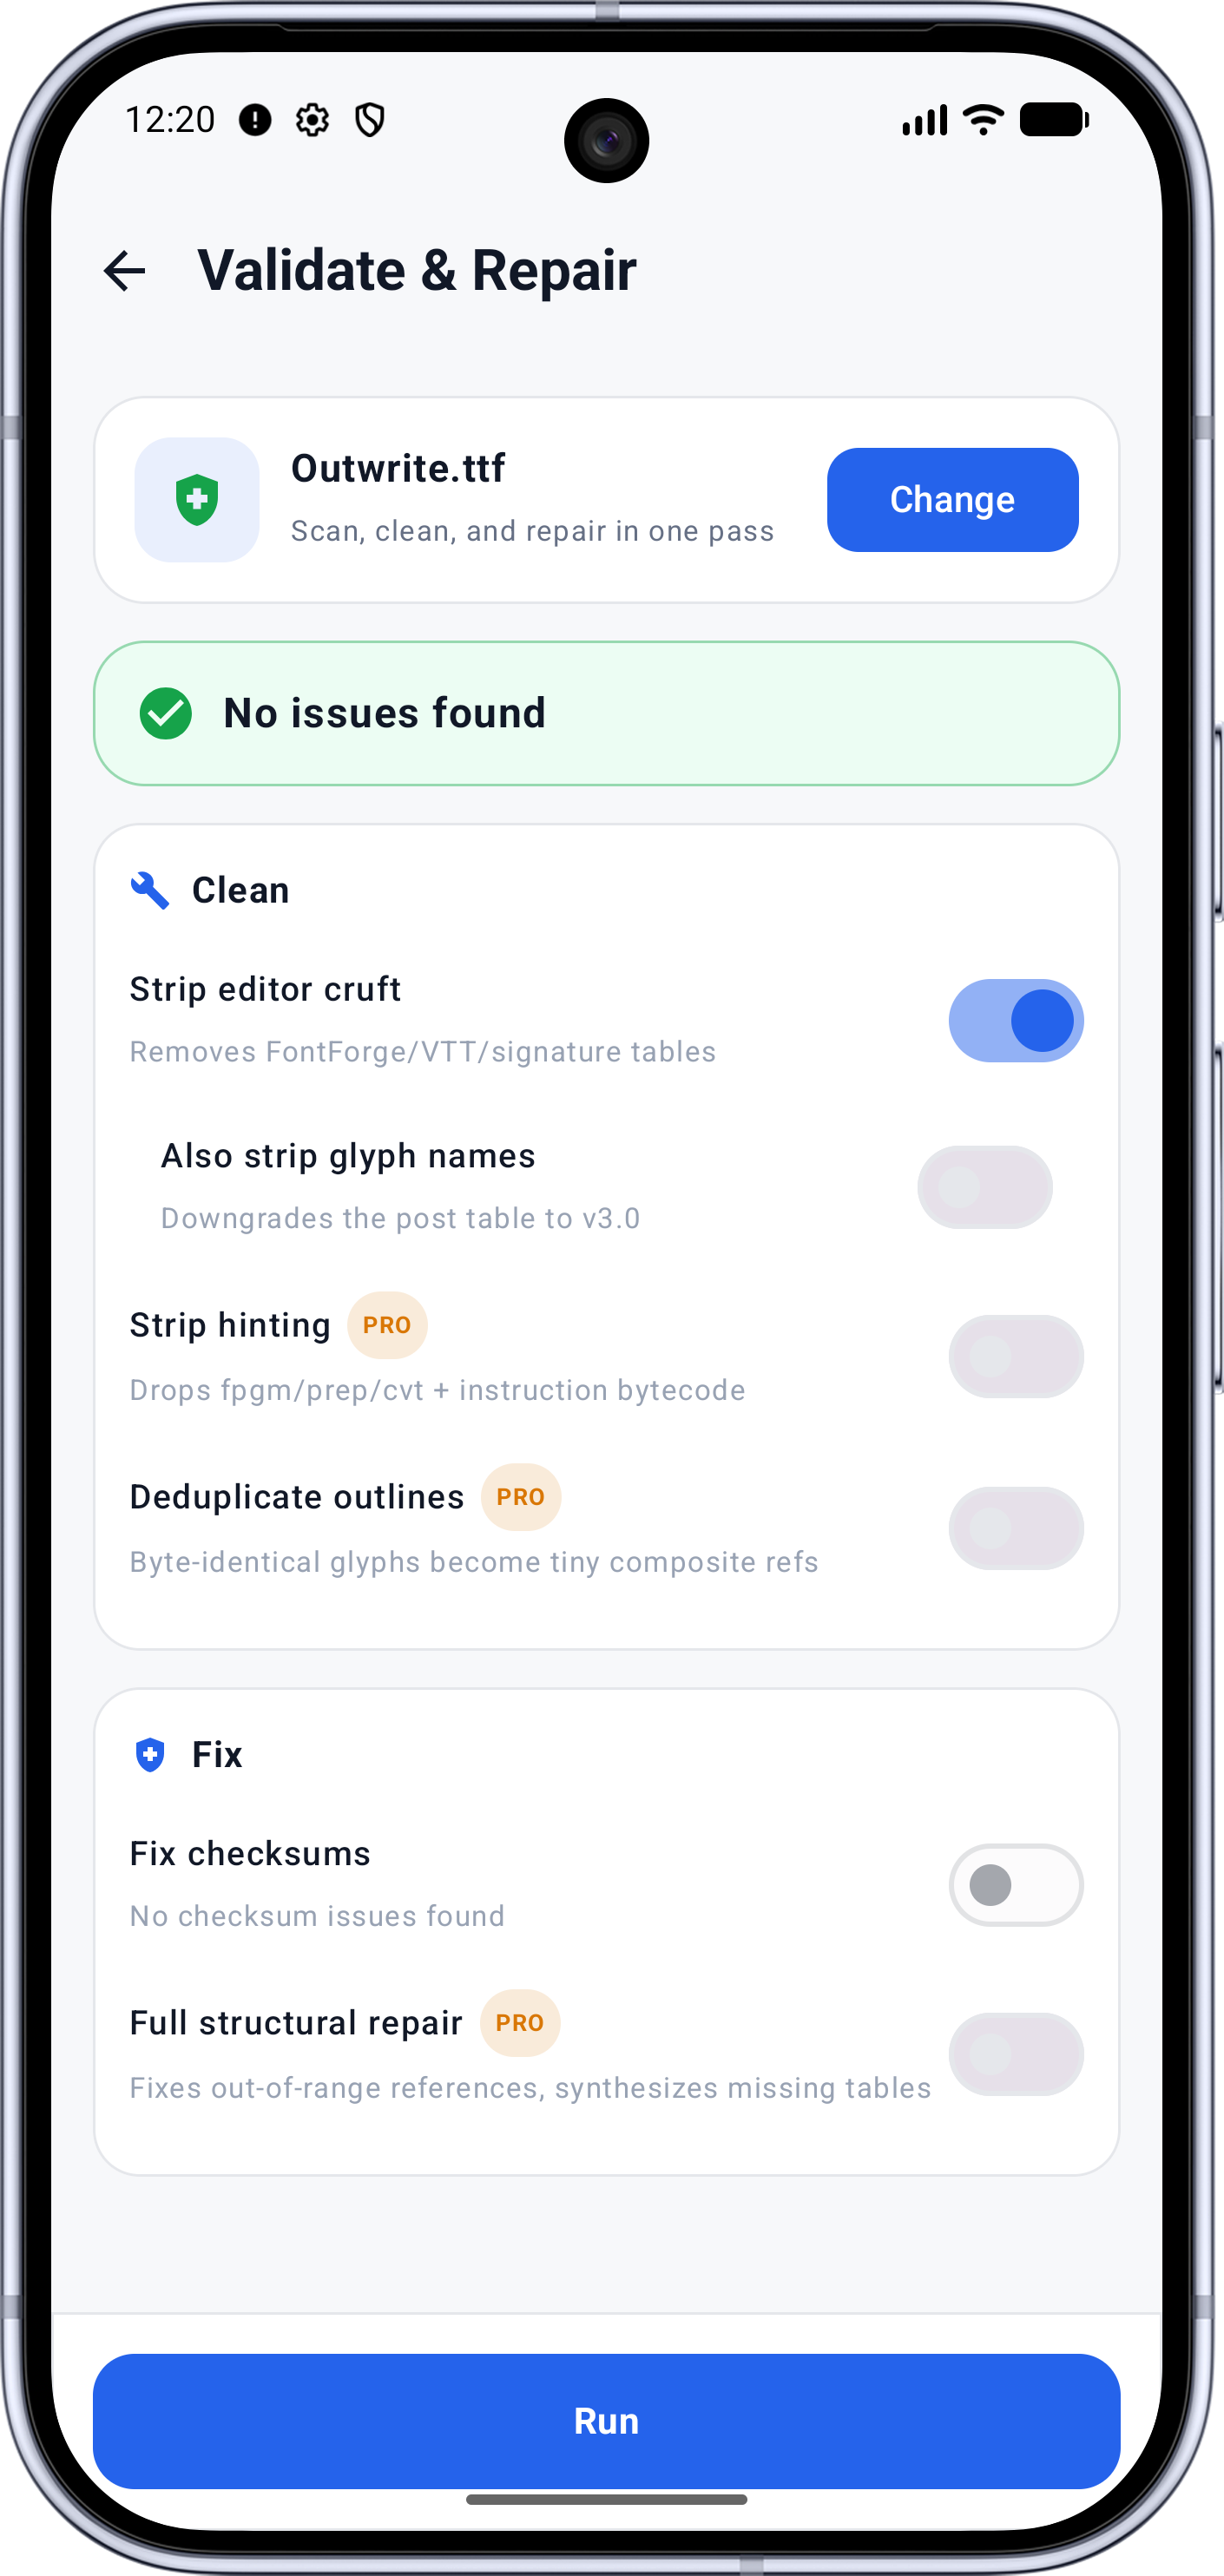
Open the font in the workspace, then open Validate & Repair from the Command Center's Optimize Font group. Run the Full validation — it covers per-glyph geometry checks (self-intersections, missing extrema, short segments) that the Quick scan skips.
Step 2 — Read the health score
The Technical Health card shows a score out of 100 with a band — Excellent (90+), Good (75+), Fair (50+) or Poor (below 50) — plus a plain-language summary that tells you whether you're polishing or rescuing. Each finding names the table affected, why it matters, and whether an automated fix exists.
Step 3 — Preview the repairs
Choose a repair profile and review the dry run before anything is written:
- Conservative — only high-confidence fixes; right for a font you otherwise like
- Balanced — common recoverable issues
- Aggressive — deeper recovery for badly damaged files, including changes that need your review
The preview shows exactly what will change: file size, findings count, per-table changes. The repair catalog covers the classic faults — recalculated checksums (the usual "won't install" fix), broken outlines cleaned up, vertical metrics synchronized between the tables that disagree.
Step 4 — Apply and test
Apply the repairs — they commit as one undoable step — then export the font and test the specific symptom: install it again, render the characters that failed, check the family name in an app that picks fonts by name.
When repair is not enough
Some damage is design, not structure: features the font only pretends to have, glyphs that are simply absent. In that case:
- Convert it. A TTF↔OTF conversion rebuilds the core tables from the outlines and drops what it can't carry — sometimes the cleanest way to evict a poisoned table. See How to convert TTF to WOFF for the conversion workflow.
- Replace the source. If the file is beyond repair, a healthier version of the same design — or a merge from a good donor — beats more surgery.
What to try next
- The font is healthy but huge? How to reduce font file size
- Full score bands, finding types and the repair catalog: Font health & repair
Full documentation