
How to build a variable dot font (wght + ROND axes)
Turn a pixel-grid dot font into a real variable TTF with two axes — wght for dot size, ROND for square-to-round — on your phone, then verify it with fontTools.
A dot-matrix font where every glyph is a grid of dots has one property most
display fonts don't: it interpolates perfectly. Grow every dot, or morph every
dot from square to circle, and nothing collides, nothing needs re-drawing, and
the advance widths never move. That is exactly what a variable font does — and
in Font Studio's Pixel Editor you can build one from a phone:
draw the glyphs as dots, then flip one switch and get a real fvar/gvar
variable TTF with a wght axis (dot size) and a ROND axis (square to round).
Previewing is free; Apply variable font to project is Pro.
This guide walks the whole pipeline: drawing the static dot font, configuring the two axes, picking named instances, optionally adding ligatures, and then verifying the exported file with fontTools — with the real numbers from a font built and exported during this article.
Why dot fonts interpolate cleanly
A variable font is a set of master outlines plus per-point deltas: the renderer computes each glyph's outline at any axis position by interpolating between the masters. For a normal typeface that means every master must have a compatible outline structure — same point count, compatible contours — or interpolation produces garbage. Dot glyphs sidestep the entire problem: every glyph is a set of circles (or squares) on a fixed lattice, so the "master" at weight 900 is the same lattice with fatter dots. Nothing overlaps because dot size is capped at a fraction of the cell, and spacing is constant because the advance widths are taken from the static font and never vary.
Two axes are written:
wght— dot diameter, as a percentage of one grid cell (roughly 15% of a cell at 100 up to about half a cell at 900). Default range 100–900.ROND— corner roundness of each dot, 0 (sharp squares) to 100 (full circles).
An avar table is included that eases the weight curve, so the dots appear to
grow at an even visual rate rather than jumping. In the font exported for this
article, the weight axis carried a 7-segment mapping — a real curve, not a
linear afterthought.
Step 1 — Draw the glyphs as dots
Open a font in the workspace (the New Font Wizard is the fastest way to scaffold A–Z, 0–9 and punctuation), then for each glyph: Glyphs tab → tap the glyph → "Design as Pixels".
In the Pixel Editor, set up the style once, before the first glyph:
- Grid tab — pick a preset (5×7 up to 16×20) or set rows, columns, rows below the baseline, and side bearing. The grid is remembered, so every glyph gets the same pixel size.
- Style tab — choose Dot and set a Dot gap. This matters: only the Dot shape can go variable. Square and Rounded merge touching pixels into one combined outline, which cannot be interpolated — the Variable tab stays disabled with an explanation until you switch to Dots.
- Draw with Pencil / Line / Box / Fill, watch the Preview strip (your glyph next to the font's own letters at three sizes), and tap Apply.
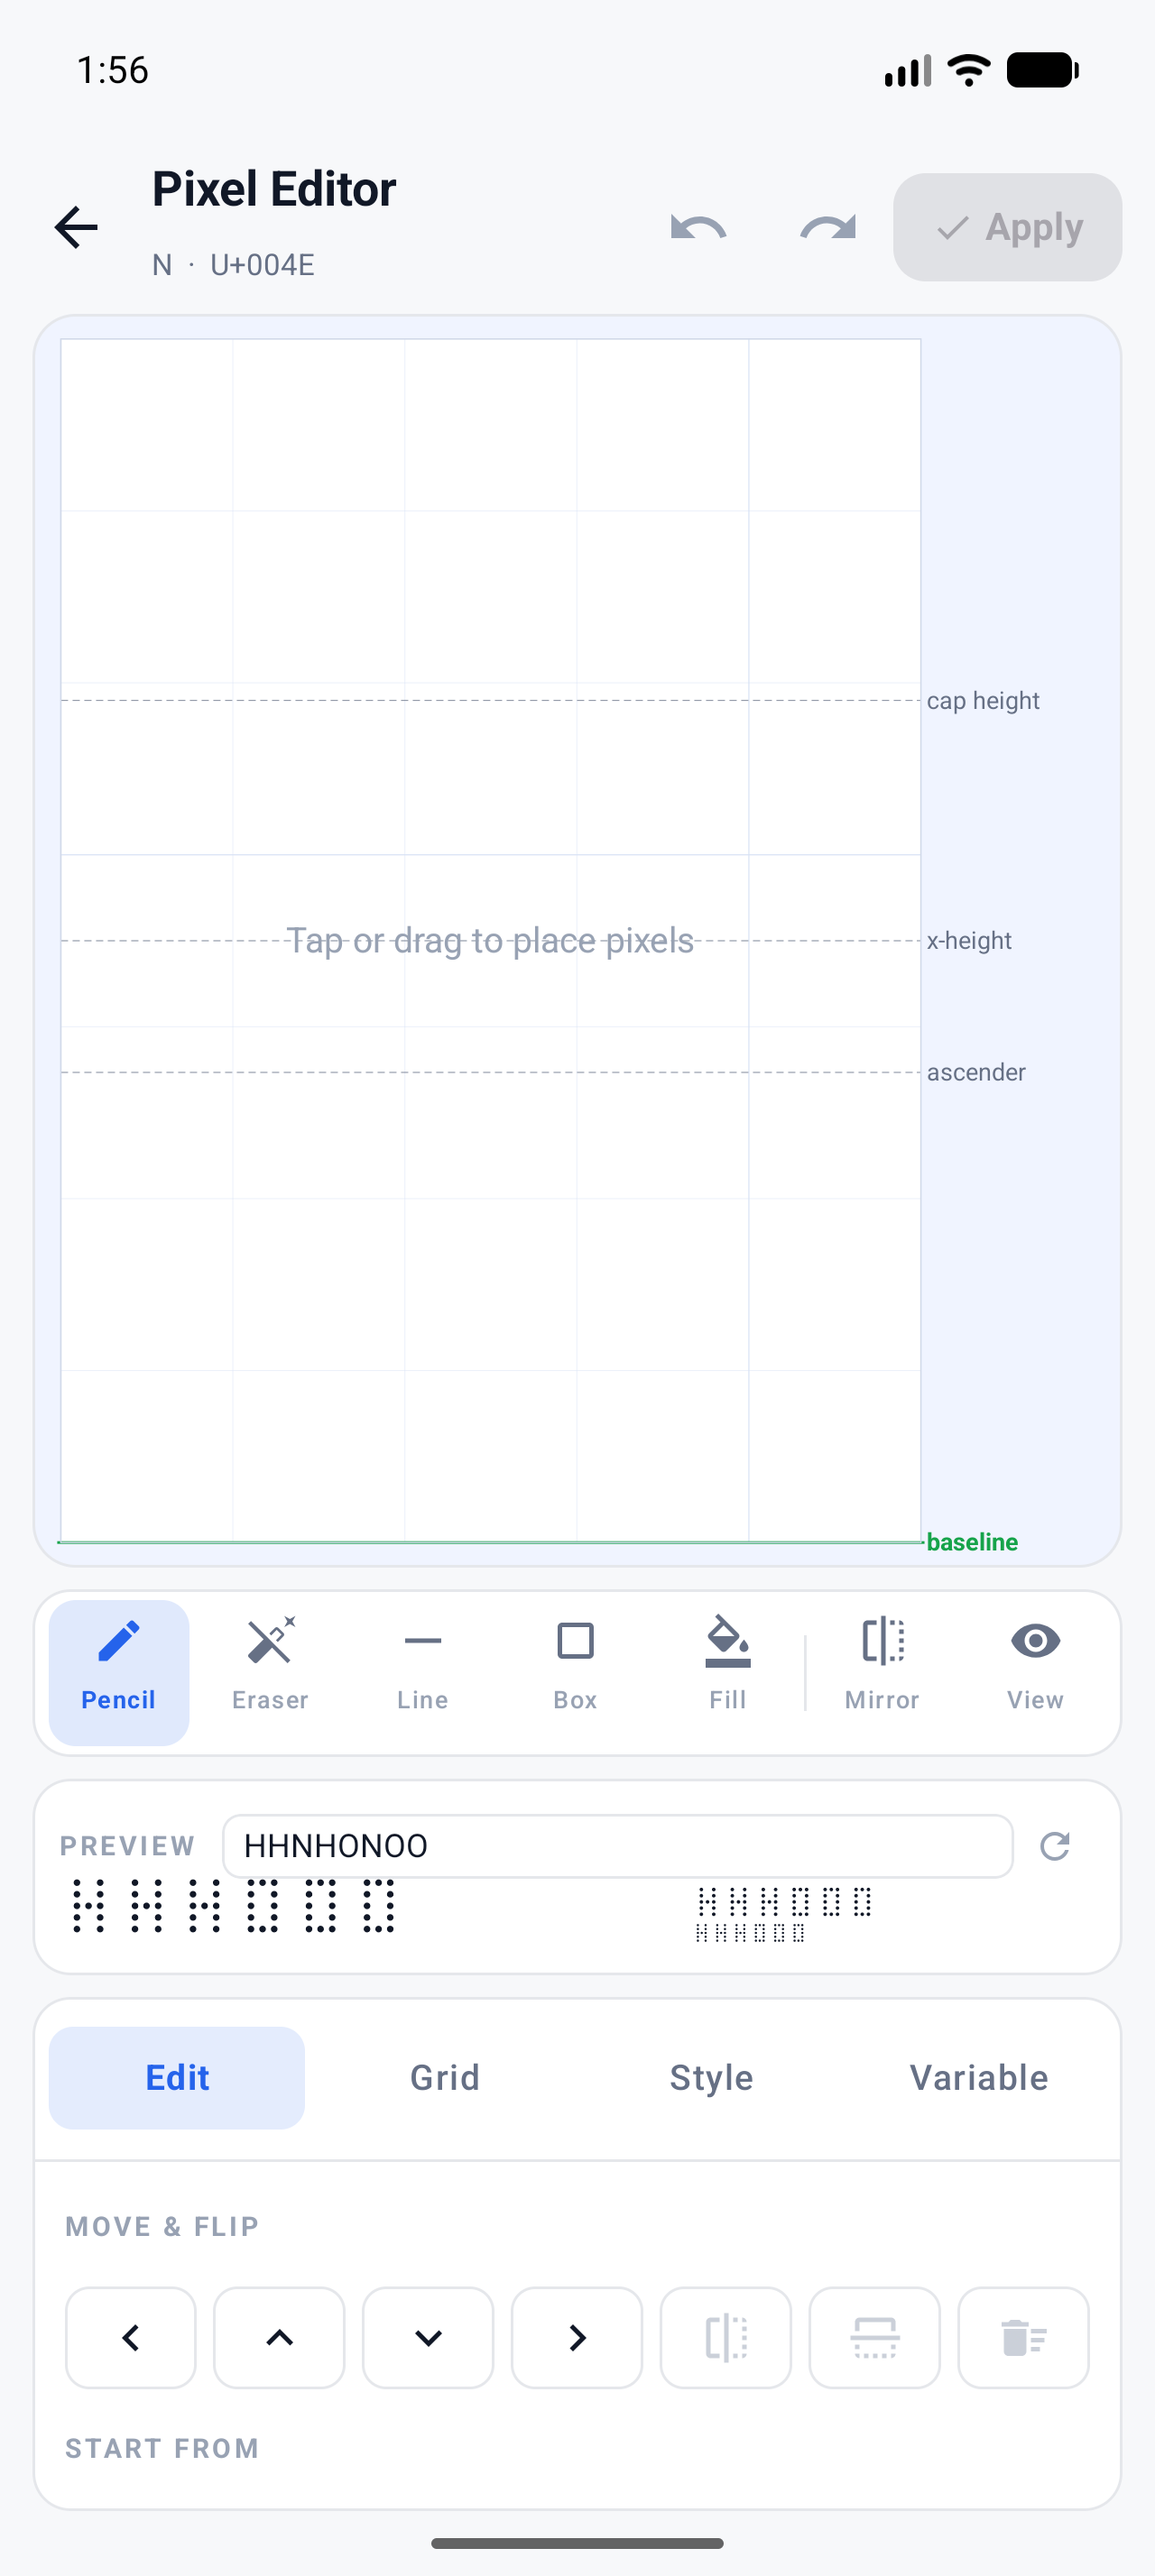
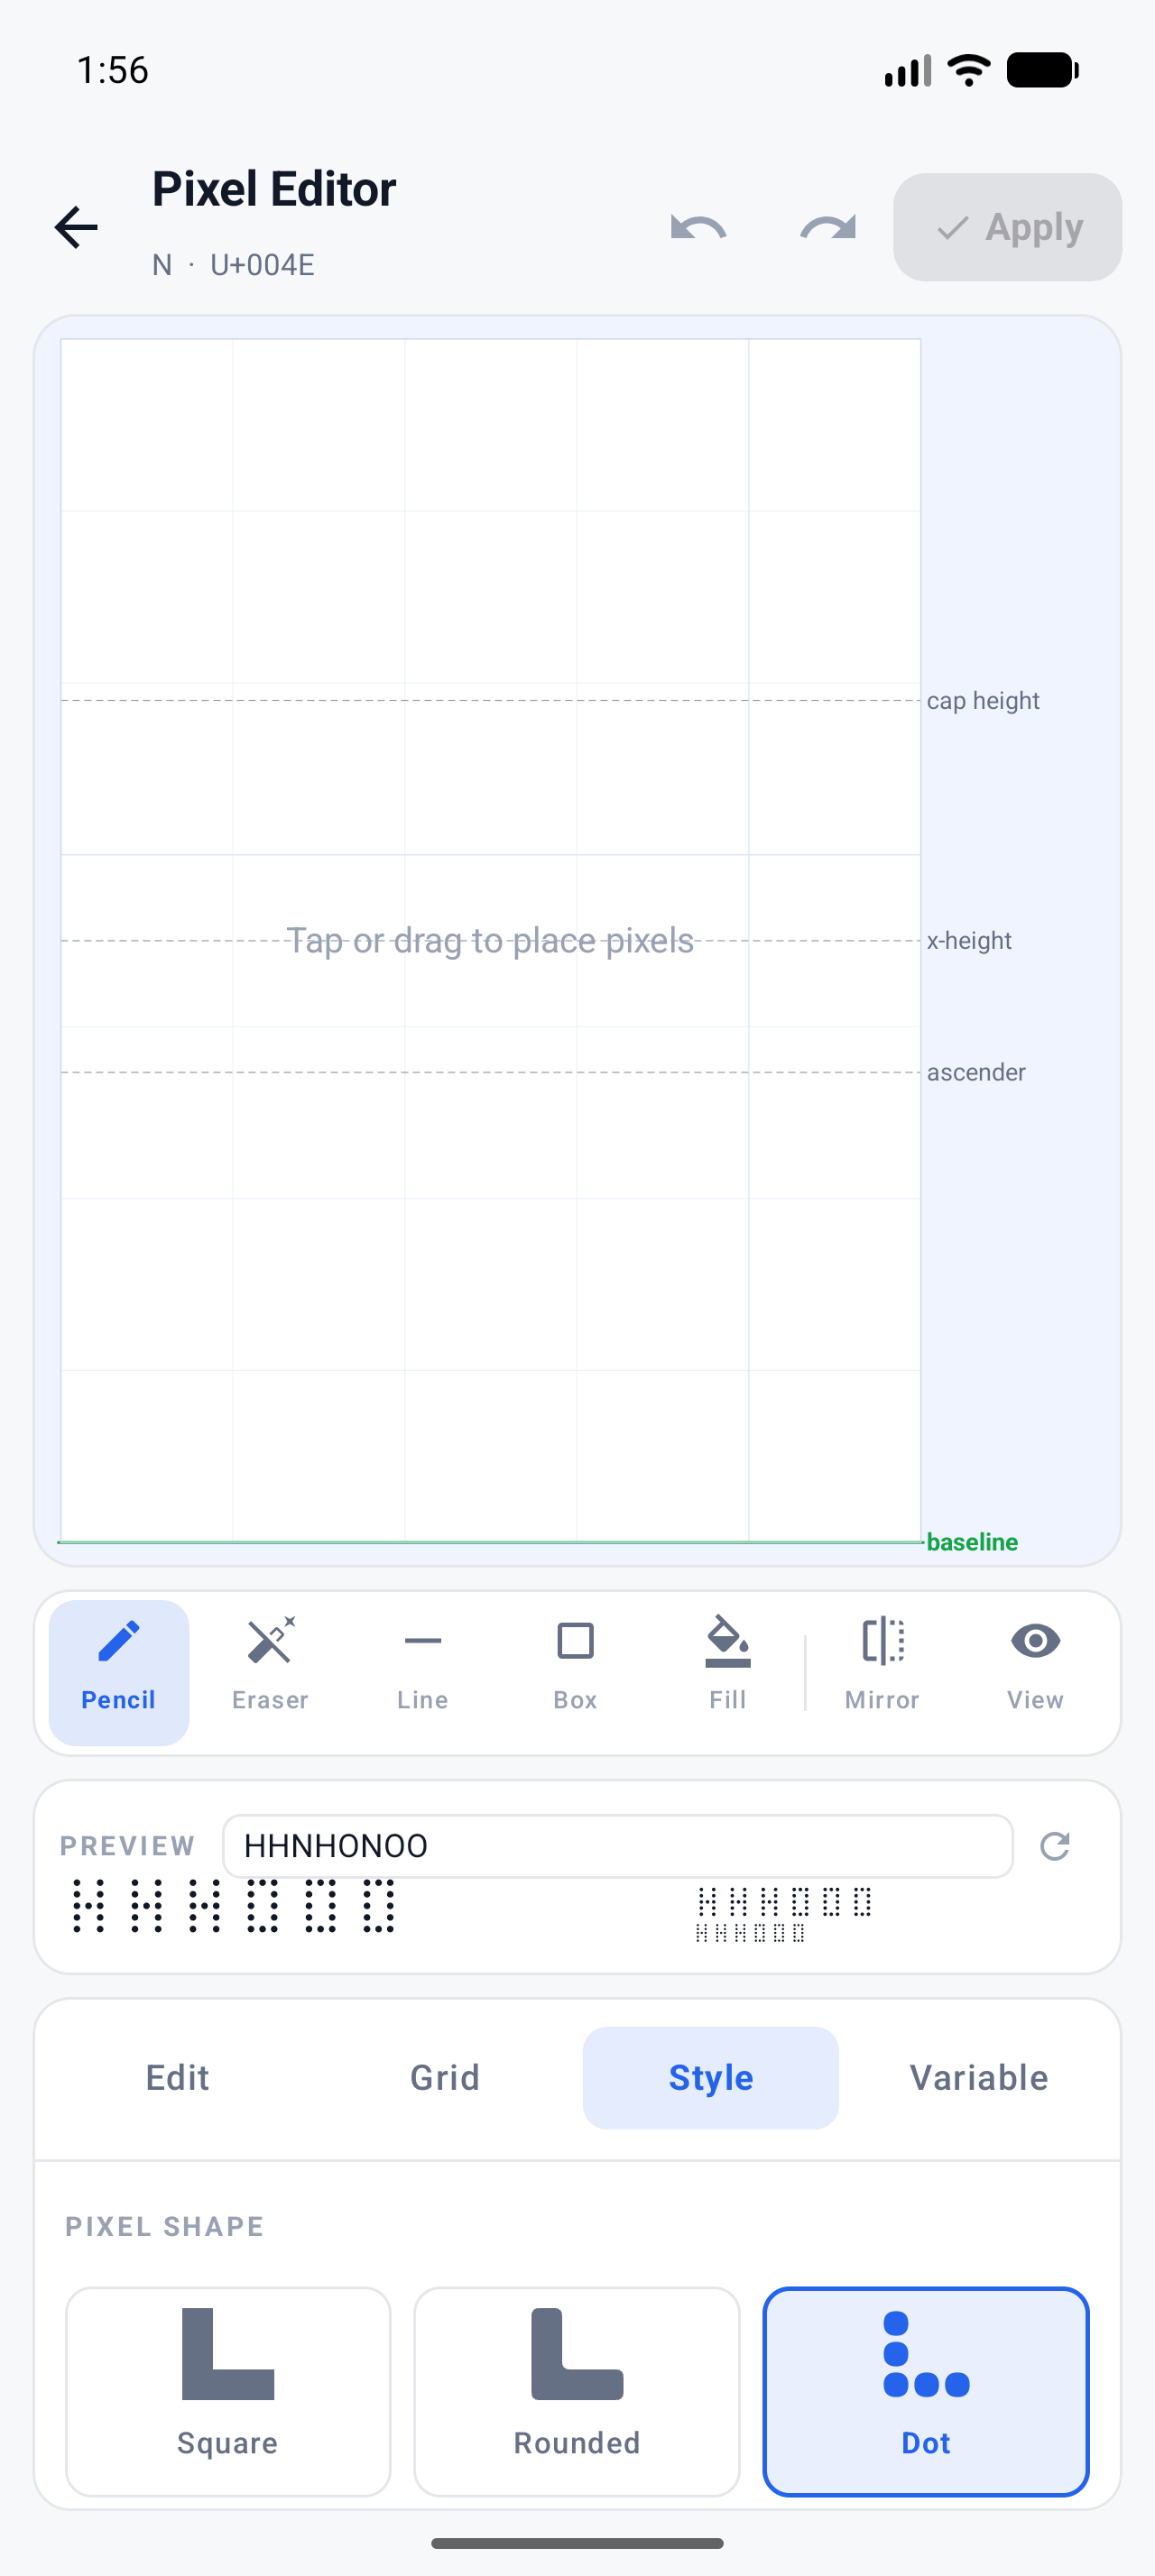
Apply each glyph before moving on. The variable build later reads the saved working font, so a glyph still being drawn is not included, and glyphs not drawn with Dots are reported ("No dots found" or listed as staying static).
Step 2 — Configure the axes
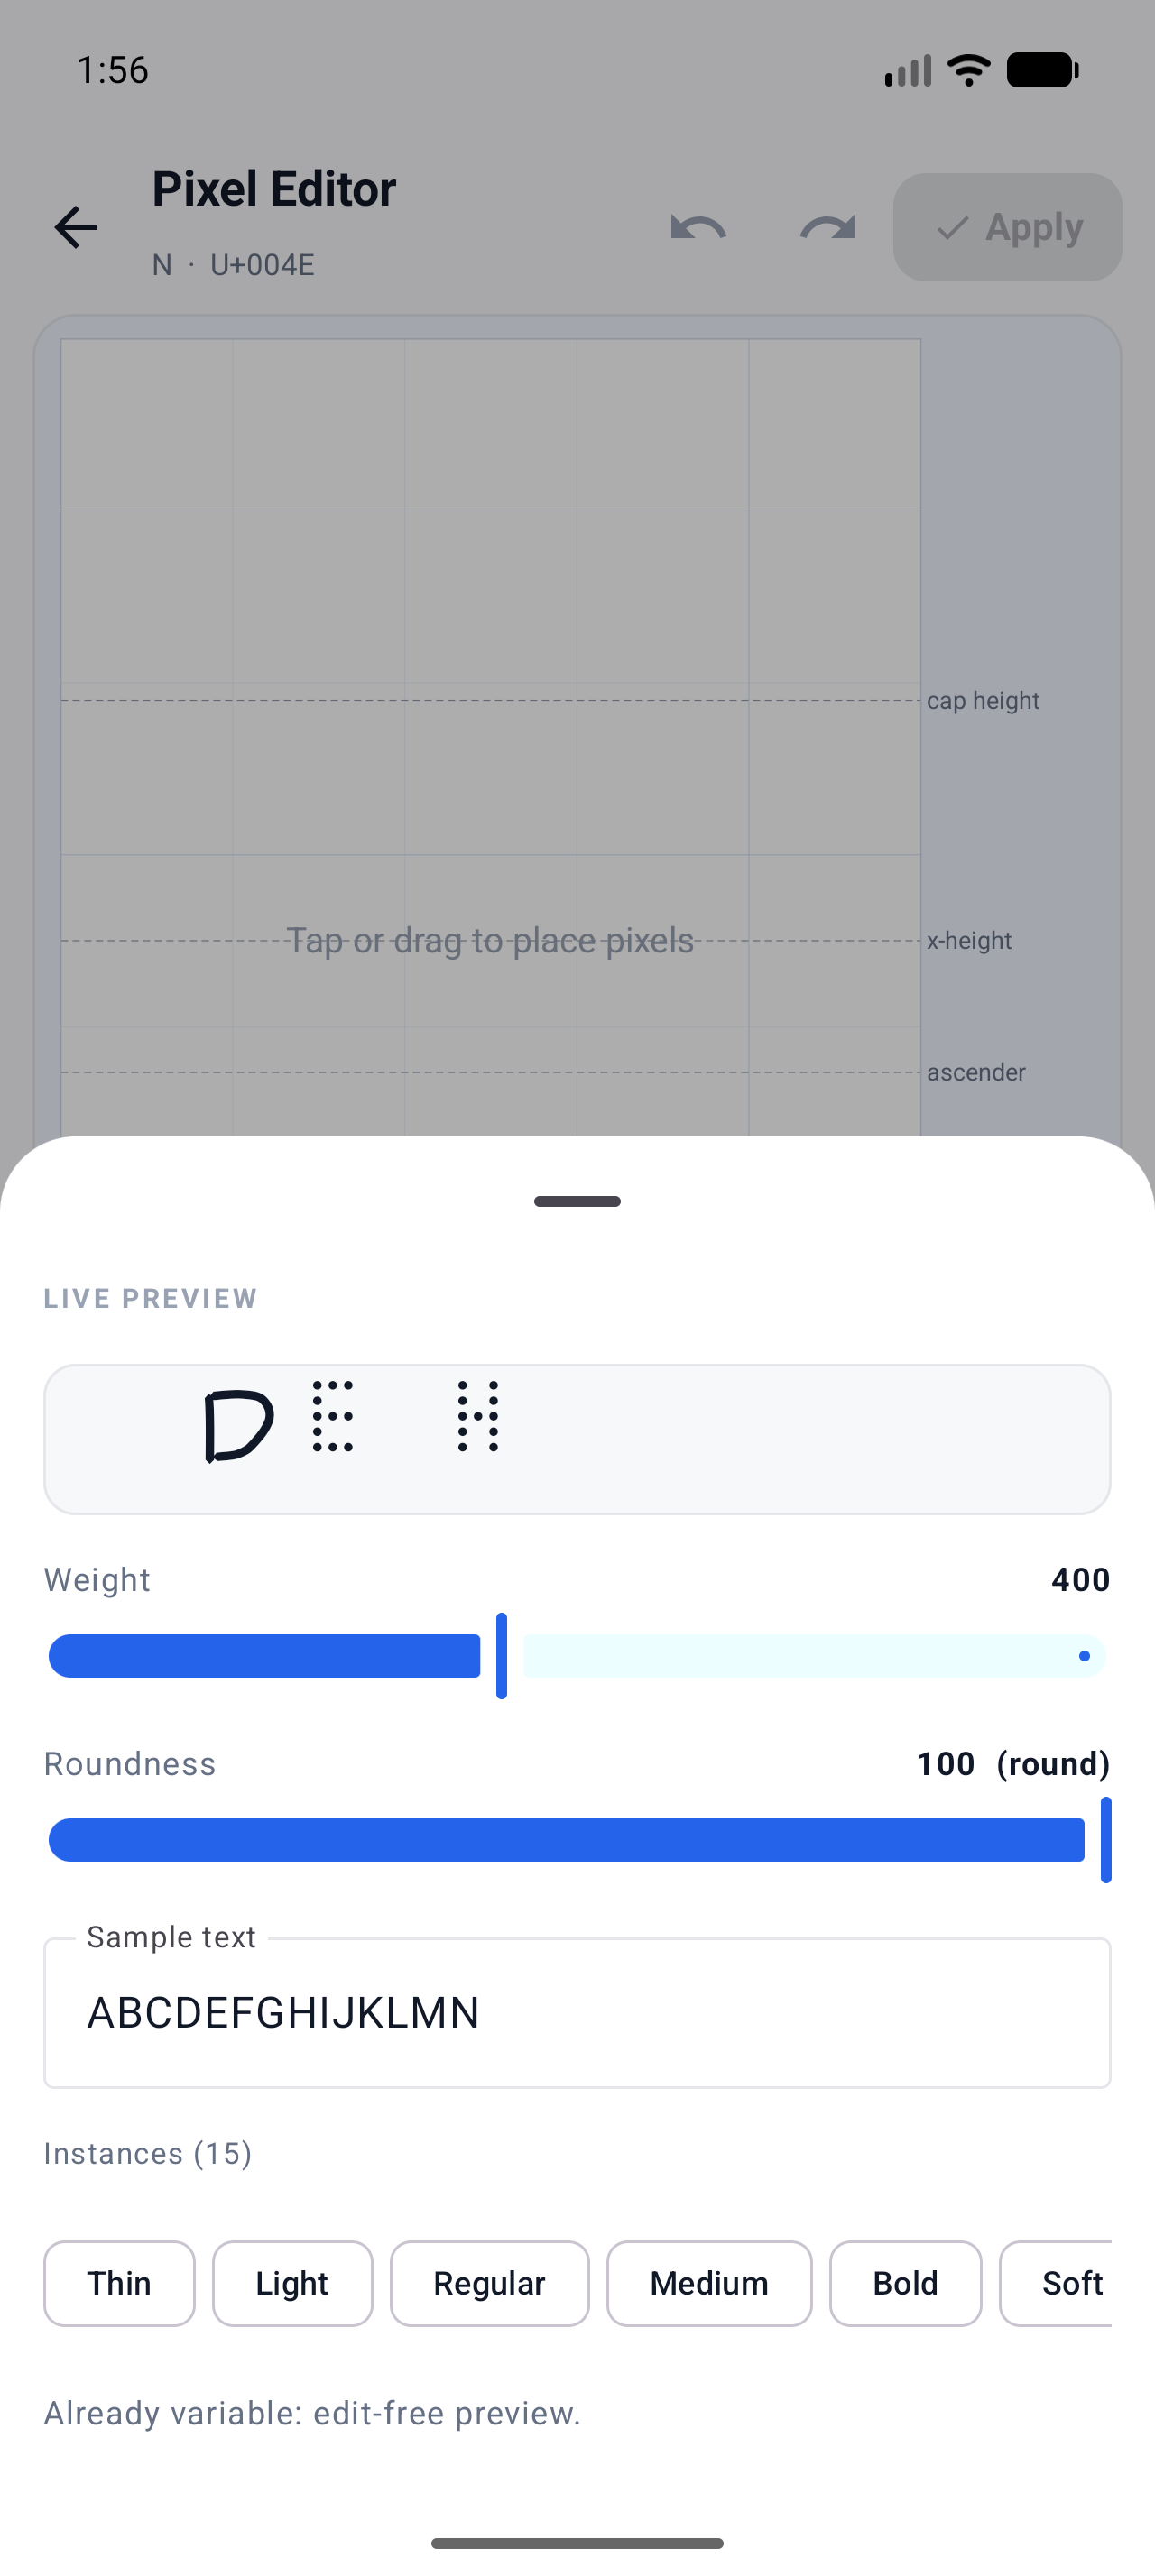
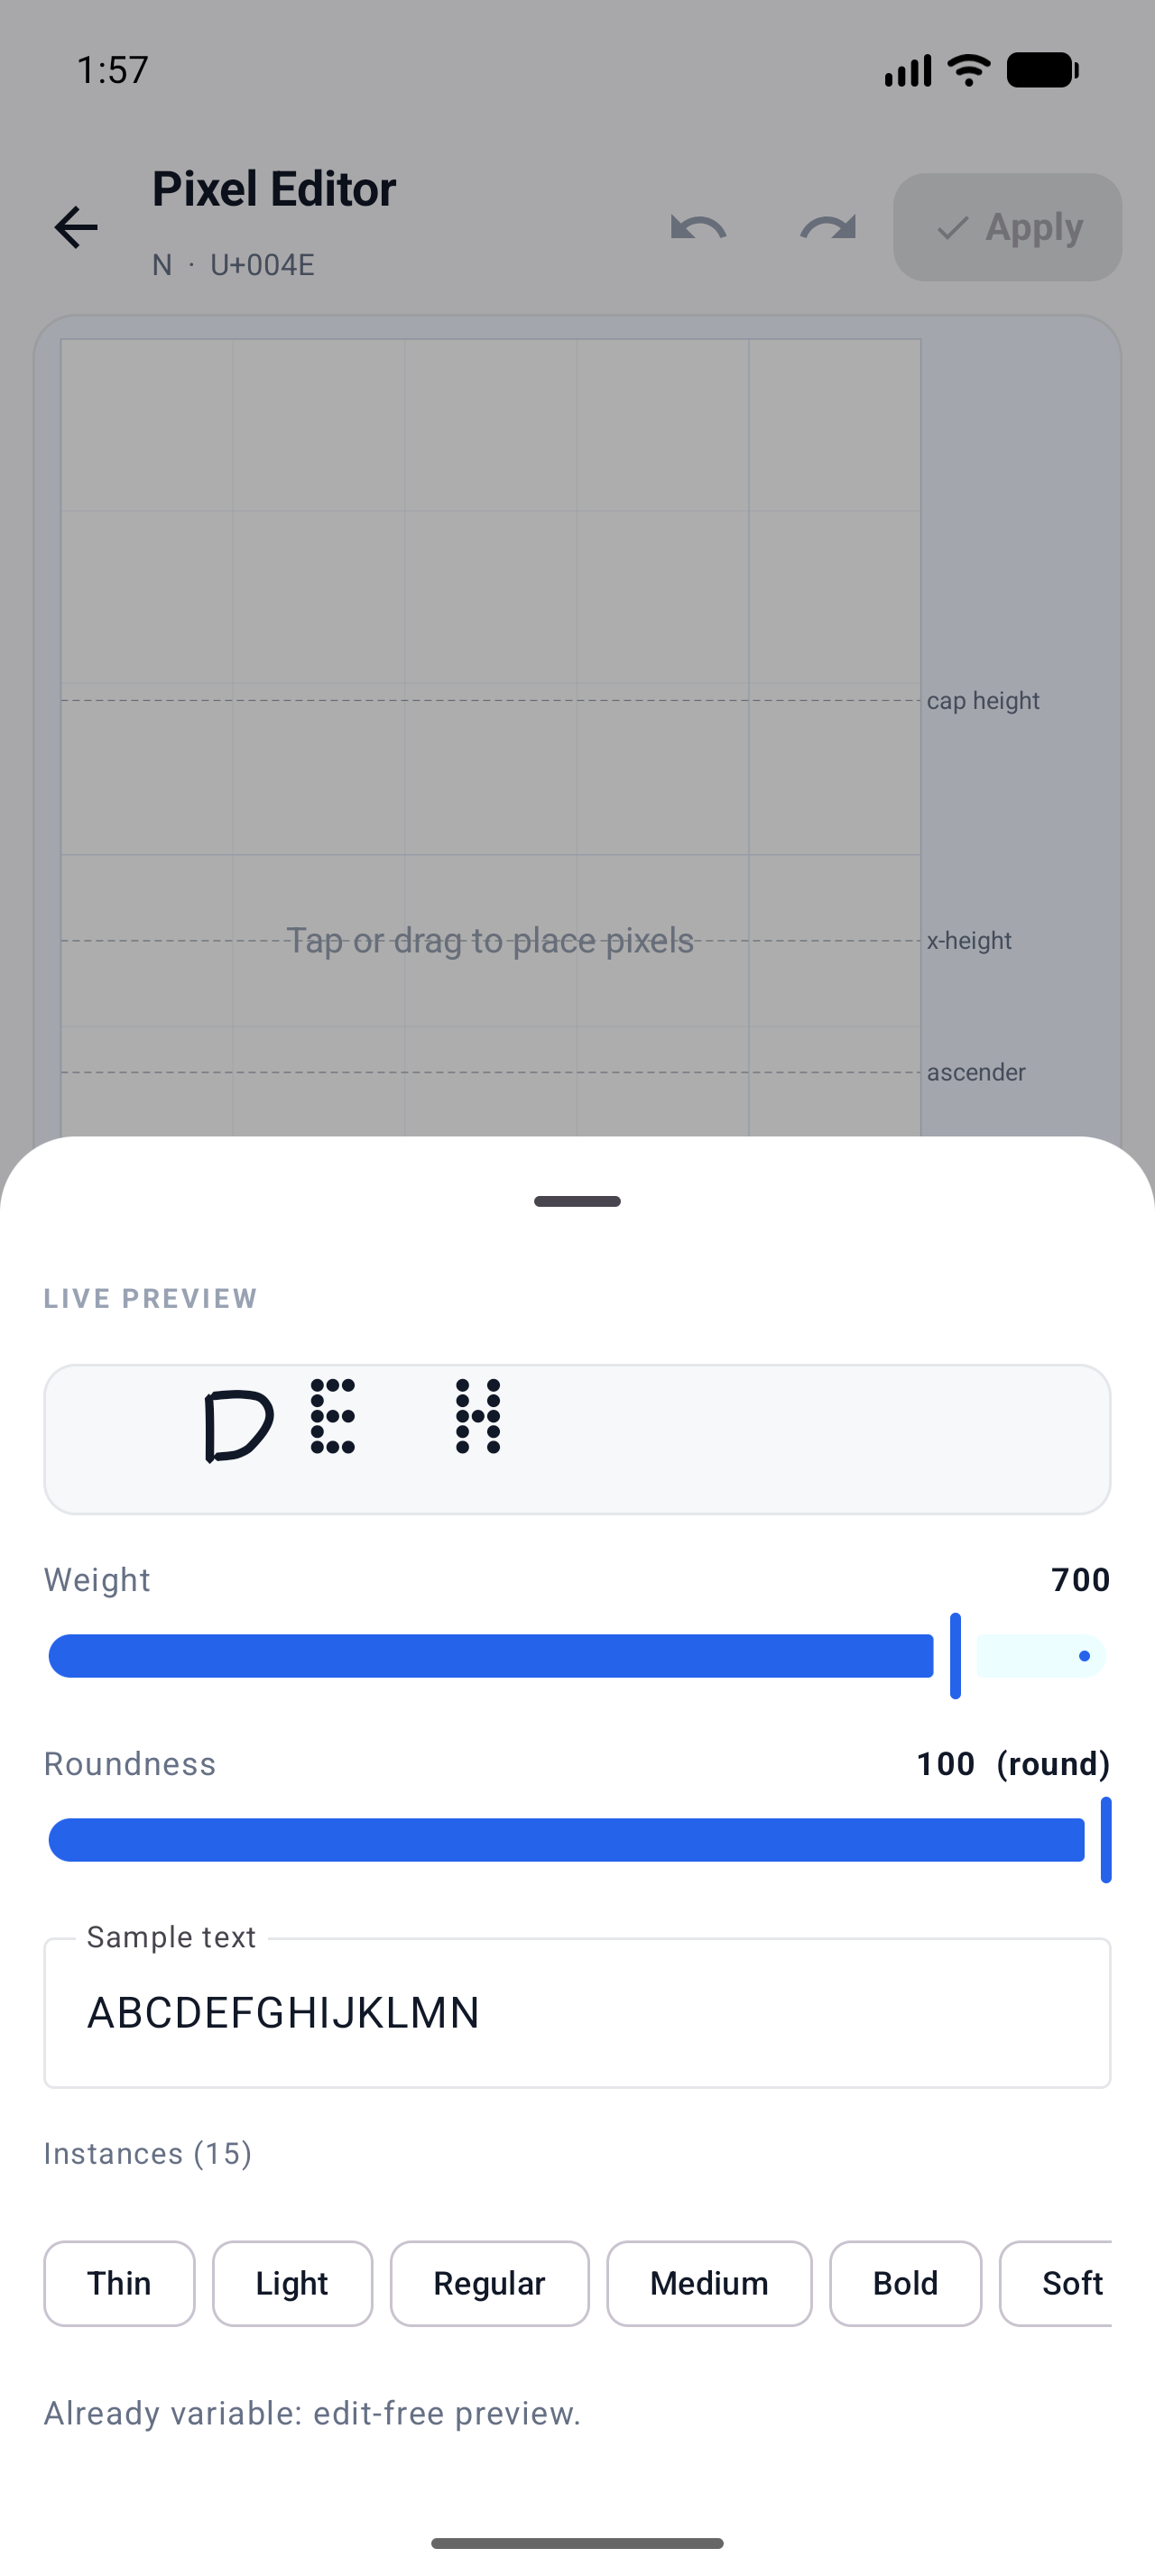
Pixel Editor → Variable tab → switch on Make this a variable font, then tap Settings, preview and build. The sheet shows, in order: a live preview, axis ranges, named instances, and ligatures.
- Weight min/max — 1 to 1000, default 100–900.
- Roundness min/max — 0 to 100.
Setting a range's min equal to its max removes that axis entirely (a single-axis weight font is a legitimate choice). Invalid pairs get a red message and the Apply button stays disabled until fixed.
One behavior worth knowing before you deviate from the defaults: named instances are only offered inside your ranges. The font exported for this article used a 100–800 weight range, so it got 15 instances instead of the default 18 — Thin through Bold plus Soft/Square variants.
Step 3 — Pick named instances
Named instances presets: Standard (Thin, Light, Regular, Medium, Bold, Black — each in Round, Soft and Square: 18 on default ranges), Weights only (6), or None. Apps that don't expose axis sliders (older Android text views, many design tools' font menus) use these names, so they're worth the tap. Tap an instance chip to jump both sliders there and check the result.
Step 4 — Optional ligatures
The LIGATURES section starts empty (ligatures are off by default — they're
plain liga substitutions). Type a character sequence in Typed (at least
two characters, each already in the font), the character that should show in
Shows (it must already exist and have dots), and tap Add. Suggested
chips like ->, <-, <3, => appear when their characters exist. There's
no editor for a dedicated wide ligature glyph: a ligature reuses an existing
glyph, centred over the summed advance — so draw the → glyph first if you
want -> to become an arrow.
Step 5 — Apply, export, verify
Tap Apply variable font to project (Pro). It's one undo step; after it, pixel editing is locked (undo back to the static font to change pixels), and reopening the Variable tab shows "This font is already variable" with a preview-only sheet.
Then Export Font → Font file → TTF (or WOFF2 — the variable tables survive
both). The font built for this article — 52 characters, 53 glyphs — came out at
26,224 bytes containing fvar, avar, gvar, HVAR and STAT, with
wght 100–800 and ROND 0–100 and 15 named instances.
Verify on a desktop with fontTools, the reference implementation:
python3 -c "
from fontTools.ttLib import TTFont
from fontTools.varLib.instancer import instantiateVariableFont
f = TTFont('MyFont.ttf')
print([(a.axisTag, a.minValue, a.defaultValue, a.maxValue) for a in f['fvar'].axes])
for loc in [{'wght':100,'ROND':100}, {'wght':800,'ROND':0}]:
    g = TTFont('MyFont.ttf')
    instantiateVariableFont(g, loc)
    print('instantiated OK at', loc)
"
The export above instantiated cleanly at both corners and the midpoint. In the browser, exercise the axes directly:
font-variation-settings: "wght" 900, "ROND" 0;
Inside Font Studio, reopen the exported file and use the Glyph Board: it shows the same two sliders and instance chips, with the big outline following the axes — a quick end-to-end check that what you drew is what ships.
What can't vary (honestly)
- The build reads dots from the saved font — the static Dot gap you drew with does not carry over; dot size is defined by weight alone.
- Kerning and OpenType features don't vary (they're taken from the static font).
- A font that is already variable can only be previewed, not re-built; undo to the static font first.
- On Android below 8.0 the sliders can't preview axis changes live, but the exported font still works everywhere.
The generator itself is not guessing: it's verified in the app's CI against fontTools' instancer, HarfBuzz shaping, and an independently built reference variable dot font — over a thousand automated checks per run, covering master generation, axis structure, instances, ligature shaping and the constant- advance spacing rule.
What to try next
- Starting from scratch? How to create a font on Android
- Shipping it to the web? How to convert TTF to WOFF — the WOFF2 path keeps the variable tables intact.
Full documentation